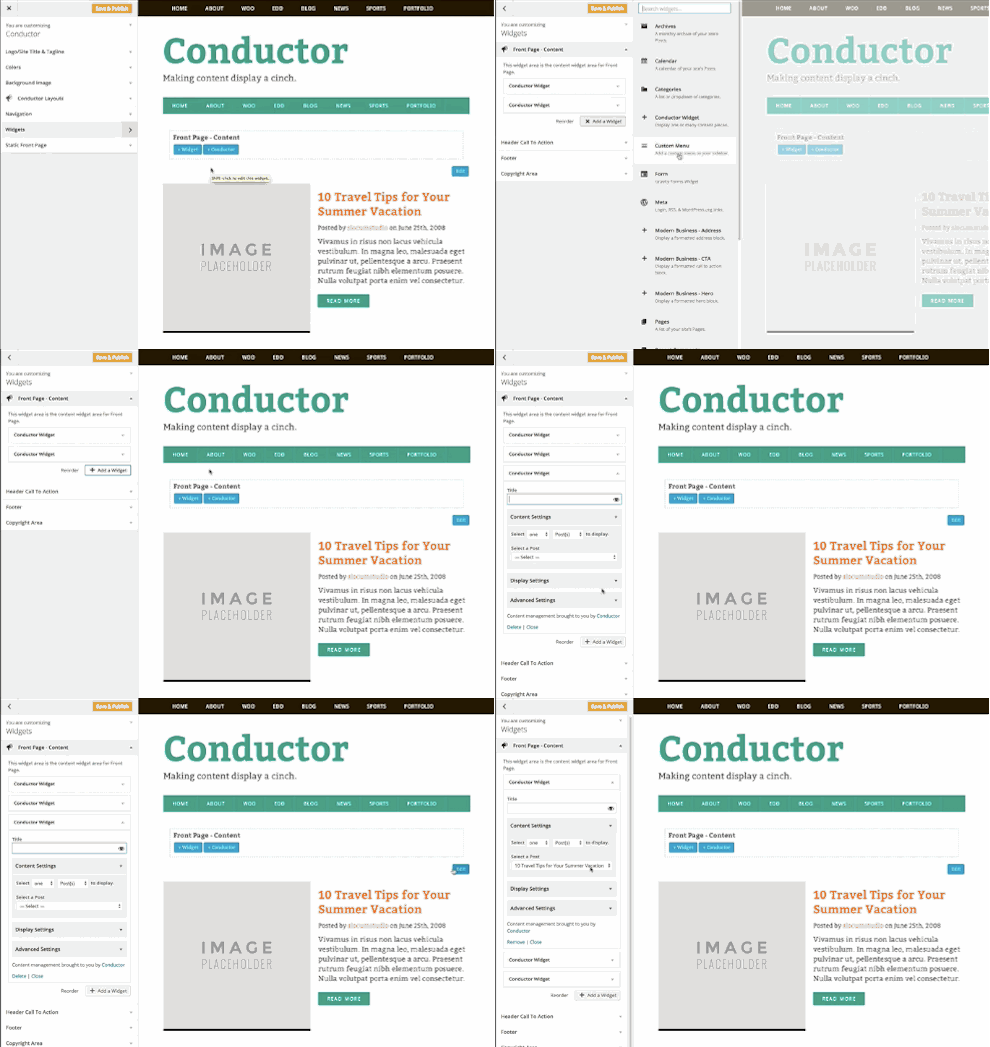
In the second post in this series, we’ll show you how to add helpful UI buttons to the Previewer window within the Customizer.
It is important to note that the following code snippets will function if placed in a child theme, however they are only presented as examples and may not be ready for production environments. If you’re planning on using these examples in a plugin or theme, you’ll want to make the necessary modifications (i.e. prefixing functions and variables, etc…).
Previously we discussed how we are able to communicate back and forth between the Previewer window and the Customizer. Today we’ll discuss how to add helpful UI buttons to the Previewer. We’ll use these buttons to trigger a custom action and add an event listener on the Customizer for this action. We’ll build off the scripts that we created in the previous post.
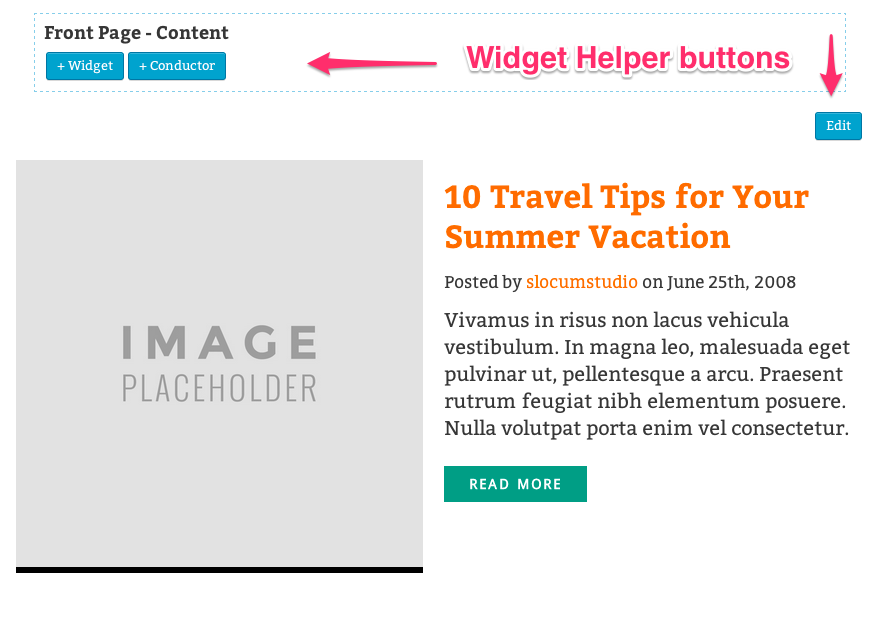
Conductor Helper Buttons

Our “Helper” buttons appear in the front-end customizer
Adding Helper Buttons
There are a couple (probably more than that) of different ways to add elements to the Previewer. In Conductor, we’ve aded UI elements to the top of Conductor sidebars and each widget. You could hook into the dynamic_sidebar_before or dynamic_sidebar_after actions to accomplish this but (at the present time) we’ve chosen to utilize Javascript for this task.
The first thing that we’re going to do is modify the ‘active’ event callback function and append our button to the <body> element. In Conductor we’re adding our UI elements to Conductor sidebars. Add the following code to the ‘active’ event callback function in the customizer-previewer.js script:
Triggering a Custom Event
Now we have to listen for touch/click events on those two buttons. These elements will be added dynamically so we’ll have to listen to the document for these events. The first button will send the ‘my-custom-event’ event, that we created in the first post of this series, to the Customizer. Since we already have an event listener in place on the Customizer, nothing more has to be created or added for this button to function other than what you see below. The second button will trigger a new event, so we’ll need to add the event listener function to the Customizer script. Add the following code to the ‘active’ event callback function in the customizer-previewer.js file after the first snippet above:
If you were to load the Customizer with these scripts in place, you’d see two buttons added to the end of the page in the Previewer window. Click on the first button and you’ll see the JavaScript alert() that we set up in the first post. Currently the second button is pretty useless, but we’ll fix that in the next step.
New Customizer Event Listener
Finally we’ll add an event listener function to our Customizer script to ensure that we listen for the ‘another-custom-event’ event. Just add the following snippet to the ‘init’ function in the myCustomizerPreviewer object in the Customizer (customizer.js) script:
Here’s the Complete ‘Active’ Event Callback Function
Here’s the Complete Customizer Init Function
That’s All Folks!

Now you can bring up the Customizer, scroll to the bottom of the Previewer window, and click on that second button. Once clicked, you’ll see that our new event is triggered and the new data is sent to the JavaScript console.
You might choose to do a number of different things with these custom events. You may want to open sidebar panels in the Customizer like we do in Conductor (we also use these custom events to add Conductor Widgets to sidebars). You may want to provide quick color change options in the previewer and adjust the ‘saved’ state of the API. The choices are endless.
Oh, and speaking of opening panels within the Customizer sidebar, we’ll discuss how to better interact with the Customizer sidebar in the next post. Stay tuned!