Note is primarily meant to be used in the WordPress Customizer so the user can preview what their Note widget looks like as they work on it. A Note widget can also be created in the Widgets panel, but the content of the widget can only be edited in the WordPress Customizer.
Creating a Note Widget with the WordPress Customizer
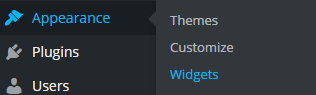
1. From your dashboard hover over Appearance and click on Customize.

2. On the left sidebar of the Customizer click on the option labeled Widgets.
![]()
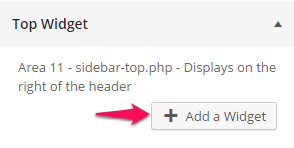
3. Select which widget area you’d like your Note widget to be then click the button labeled Add a Widget.
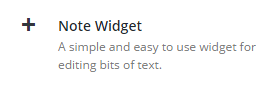
4. When the list of widgets appear click on the one labeled Note Widget.
Now you can configure your Note widget and add content to it. When you’re done remember to click on the Save & Publish button in the top-right corner of the WordPress Customizer sidebar.
Creating a Note Widget Using the Widgets Panel
1. From your dashboard hover over Appearance then click on Widgets.
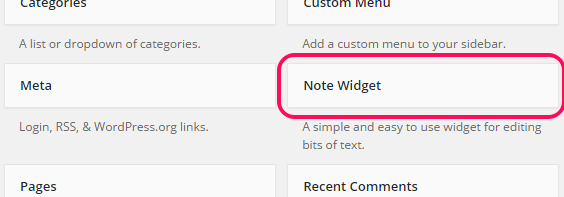
2. Under the area labeled Available Widgets select the widget labeled Note Widget.
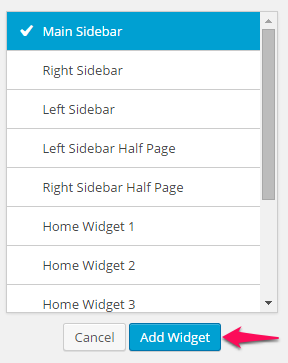
3. From there you should be given a list of options for where your Note widget can go. Select the option where you would like your Note widget to go then click the Add Widget button at the bottom..
4. Now you can configure your Note widget the way you want to. Click the button labeled Save in the bottom-right corner of the widget options when you are done.
Note: If you click the Edit Content button you will be taken to the WordPress Customizer.![]()