We’re excited to announce the availability of the AgentPress Listings add-on support for Conductor.
In today’s tutorial, we’ll show you how to setup AgentPress Listing and Carrie Dils’ Winning Agent Genesis Child Theme to leverage Conductor for custom listing page displays. We’re making it easy to display custom listing layouts including AgentPress custom fields — without code.
Here’s what you will need:
- AgentPress Listings Plugin
- Winning Agent Genesis Child theme
- Conductor Poweruser or Developer pack
- About 15 – 20 minutes setup time
How Conductor works with AgentPress Listings
Here’s a quick video demonstrating the display of custom fields from AgentPress Listings Plugin to create custom listing pages.
Displaying custom AgentPress fields
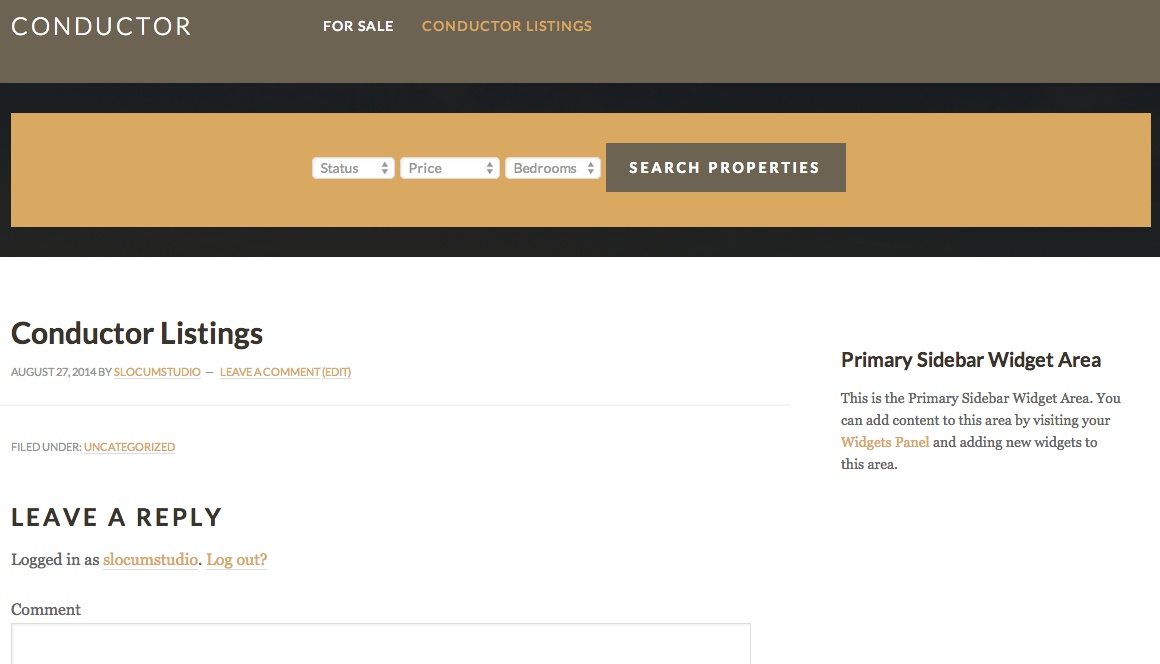
Out of the box, the Winning Agent theme displays listing pages like a default WordPress site. It’s a summary style of posts, similar to your standard blog roll. So what happens when you want to display custom data like price or MLS #?
When you use the AgentPress add-on for Conductor, you can quickly create these pages using the custom fields search box.
Step 1: Create a blank page to display custom listings
Create a blank page that you will use to conduct a custom layout and add your listings to. In your WordPress dashboard, click on Pages > Add new. Pick a page title that will make sense to add to your website navigation. Something like, My Listings or Featured properties.
Step 2: Conduct the page and select your desired layout
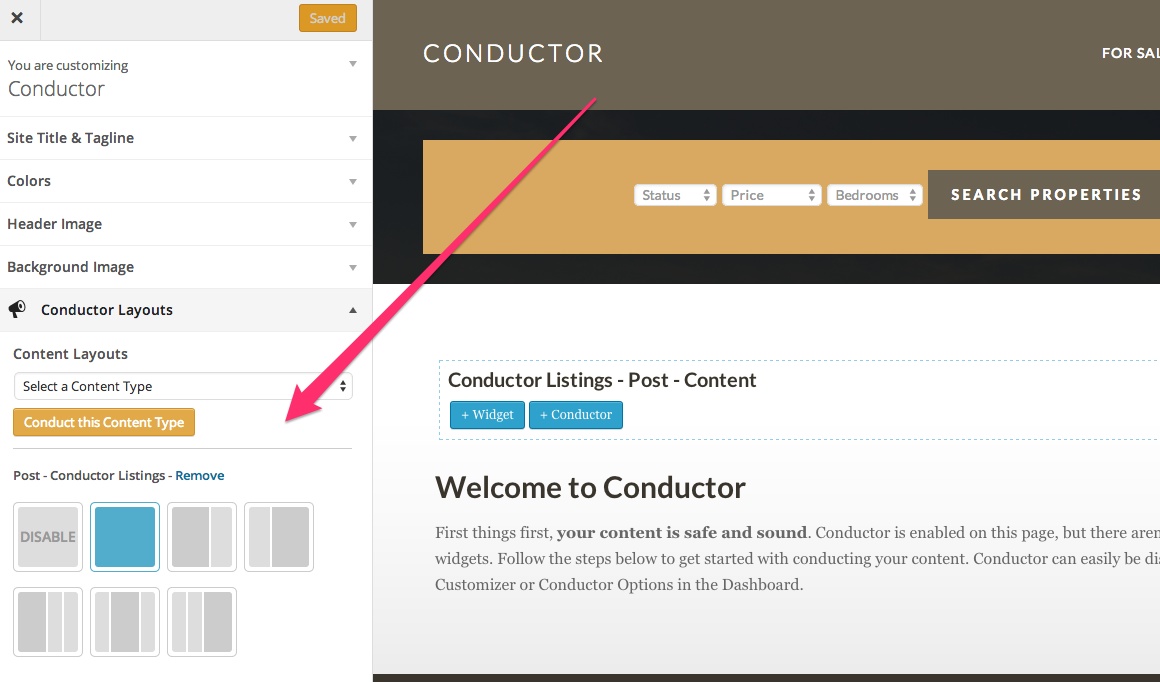
View your new page on the front-end of your WordPress site and click Conduct This Content Type. Select the desired layout for your new page. The layout can change at any time, so if you feel that you might want to add a sidebar later on — no problem!
Step 3: Add the Conductor widget
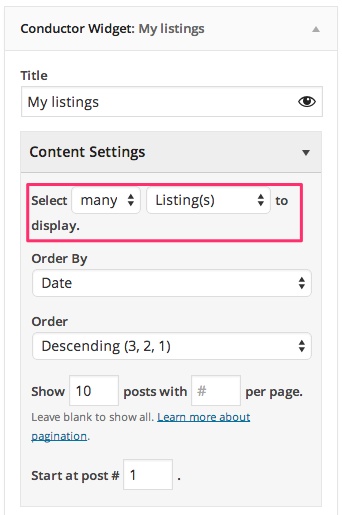
Add your first Conductor widget and select Many Listings to display. AgentPress uses Listings and Communities as a custom post type so you could choose from either. If you wanted to display both on the same page, simply create two Conductor widgets and place them in your desired order.
Step 4: Select your AgentPress custom fields
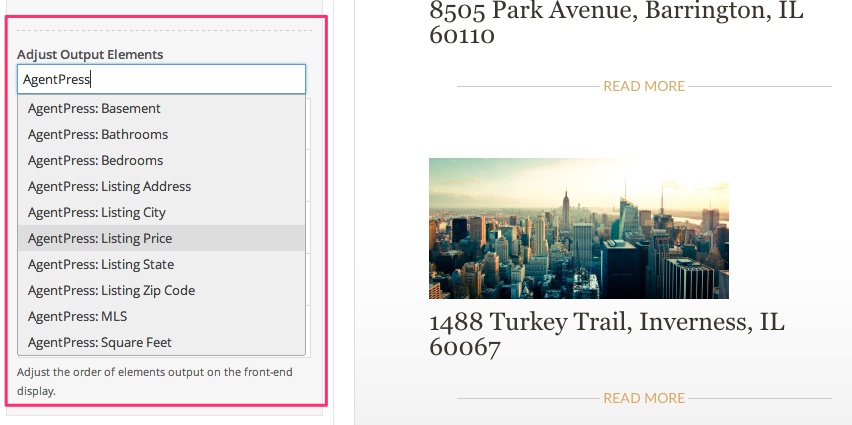
Now it’s time to select and arrange the fields you wish to display. In this screenshot, I’ve added Price & MLS number. You can rearrange the order of the fields and change the display settings of default fields.
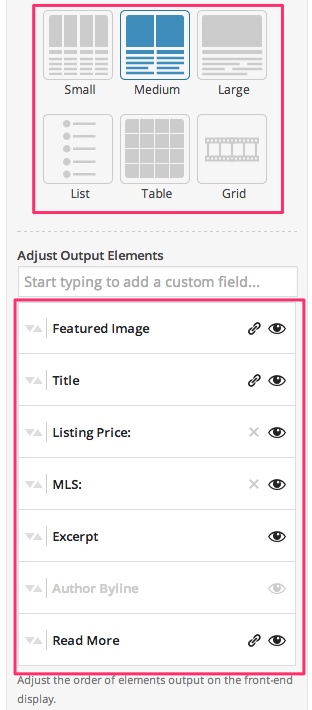
I also changed the display of our listing posts to a 50/50 display. Listings will load side-by-side when we’re done conducting the content.
Finished: Custom AgentPress Listing Display
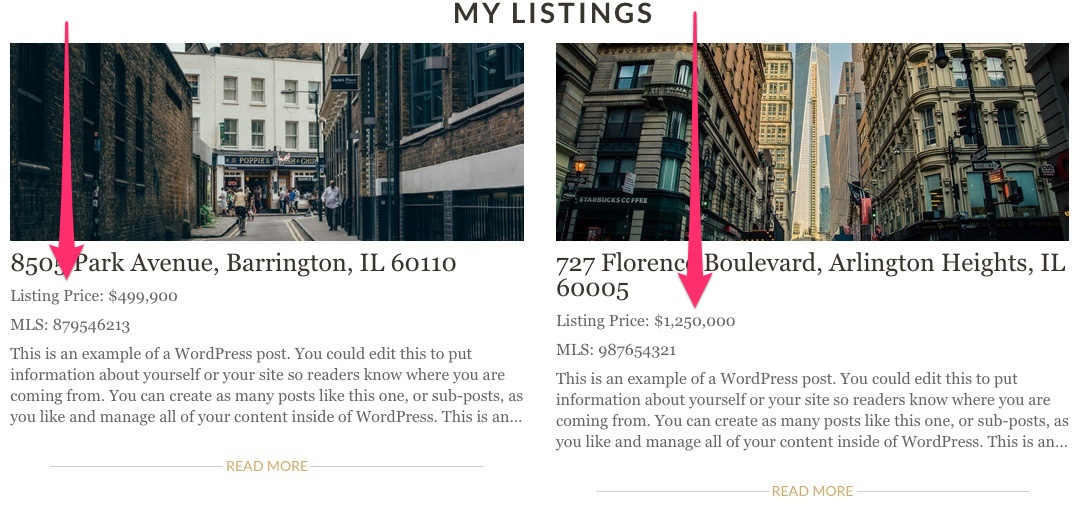
As you can see, our listings are displayed in a grid and include Listing Price & MLS custom fields.
No code required!
If you want to add more fields or change the Read More caption you can do that via the Conductor Widget. You can customize your content display at any time. The possibilities are endless.
Learn more about Conductor
As of this post, the AgentPress Listings add-on comes with a Poweruser or Developer purchase of Conductor plugin.
You can learn more about using the plugin or ask us a question.